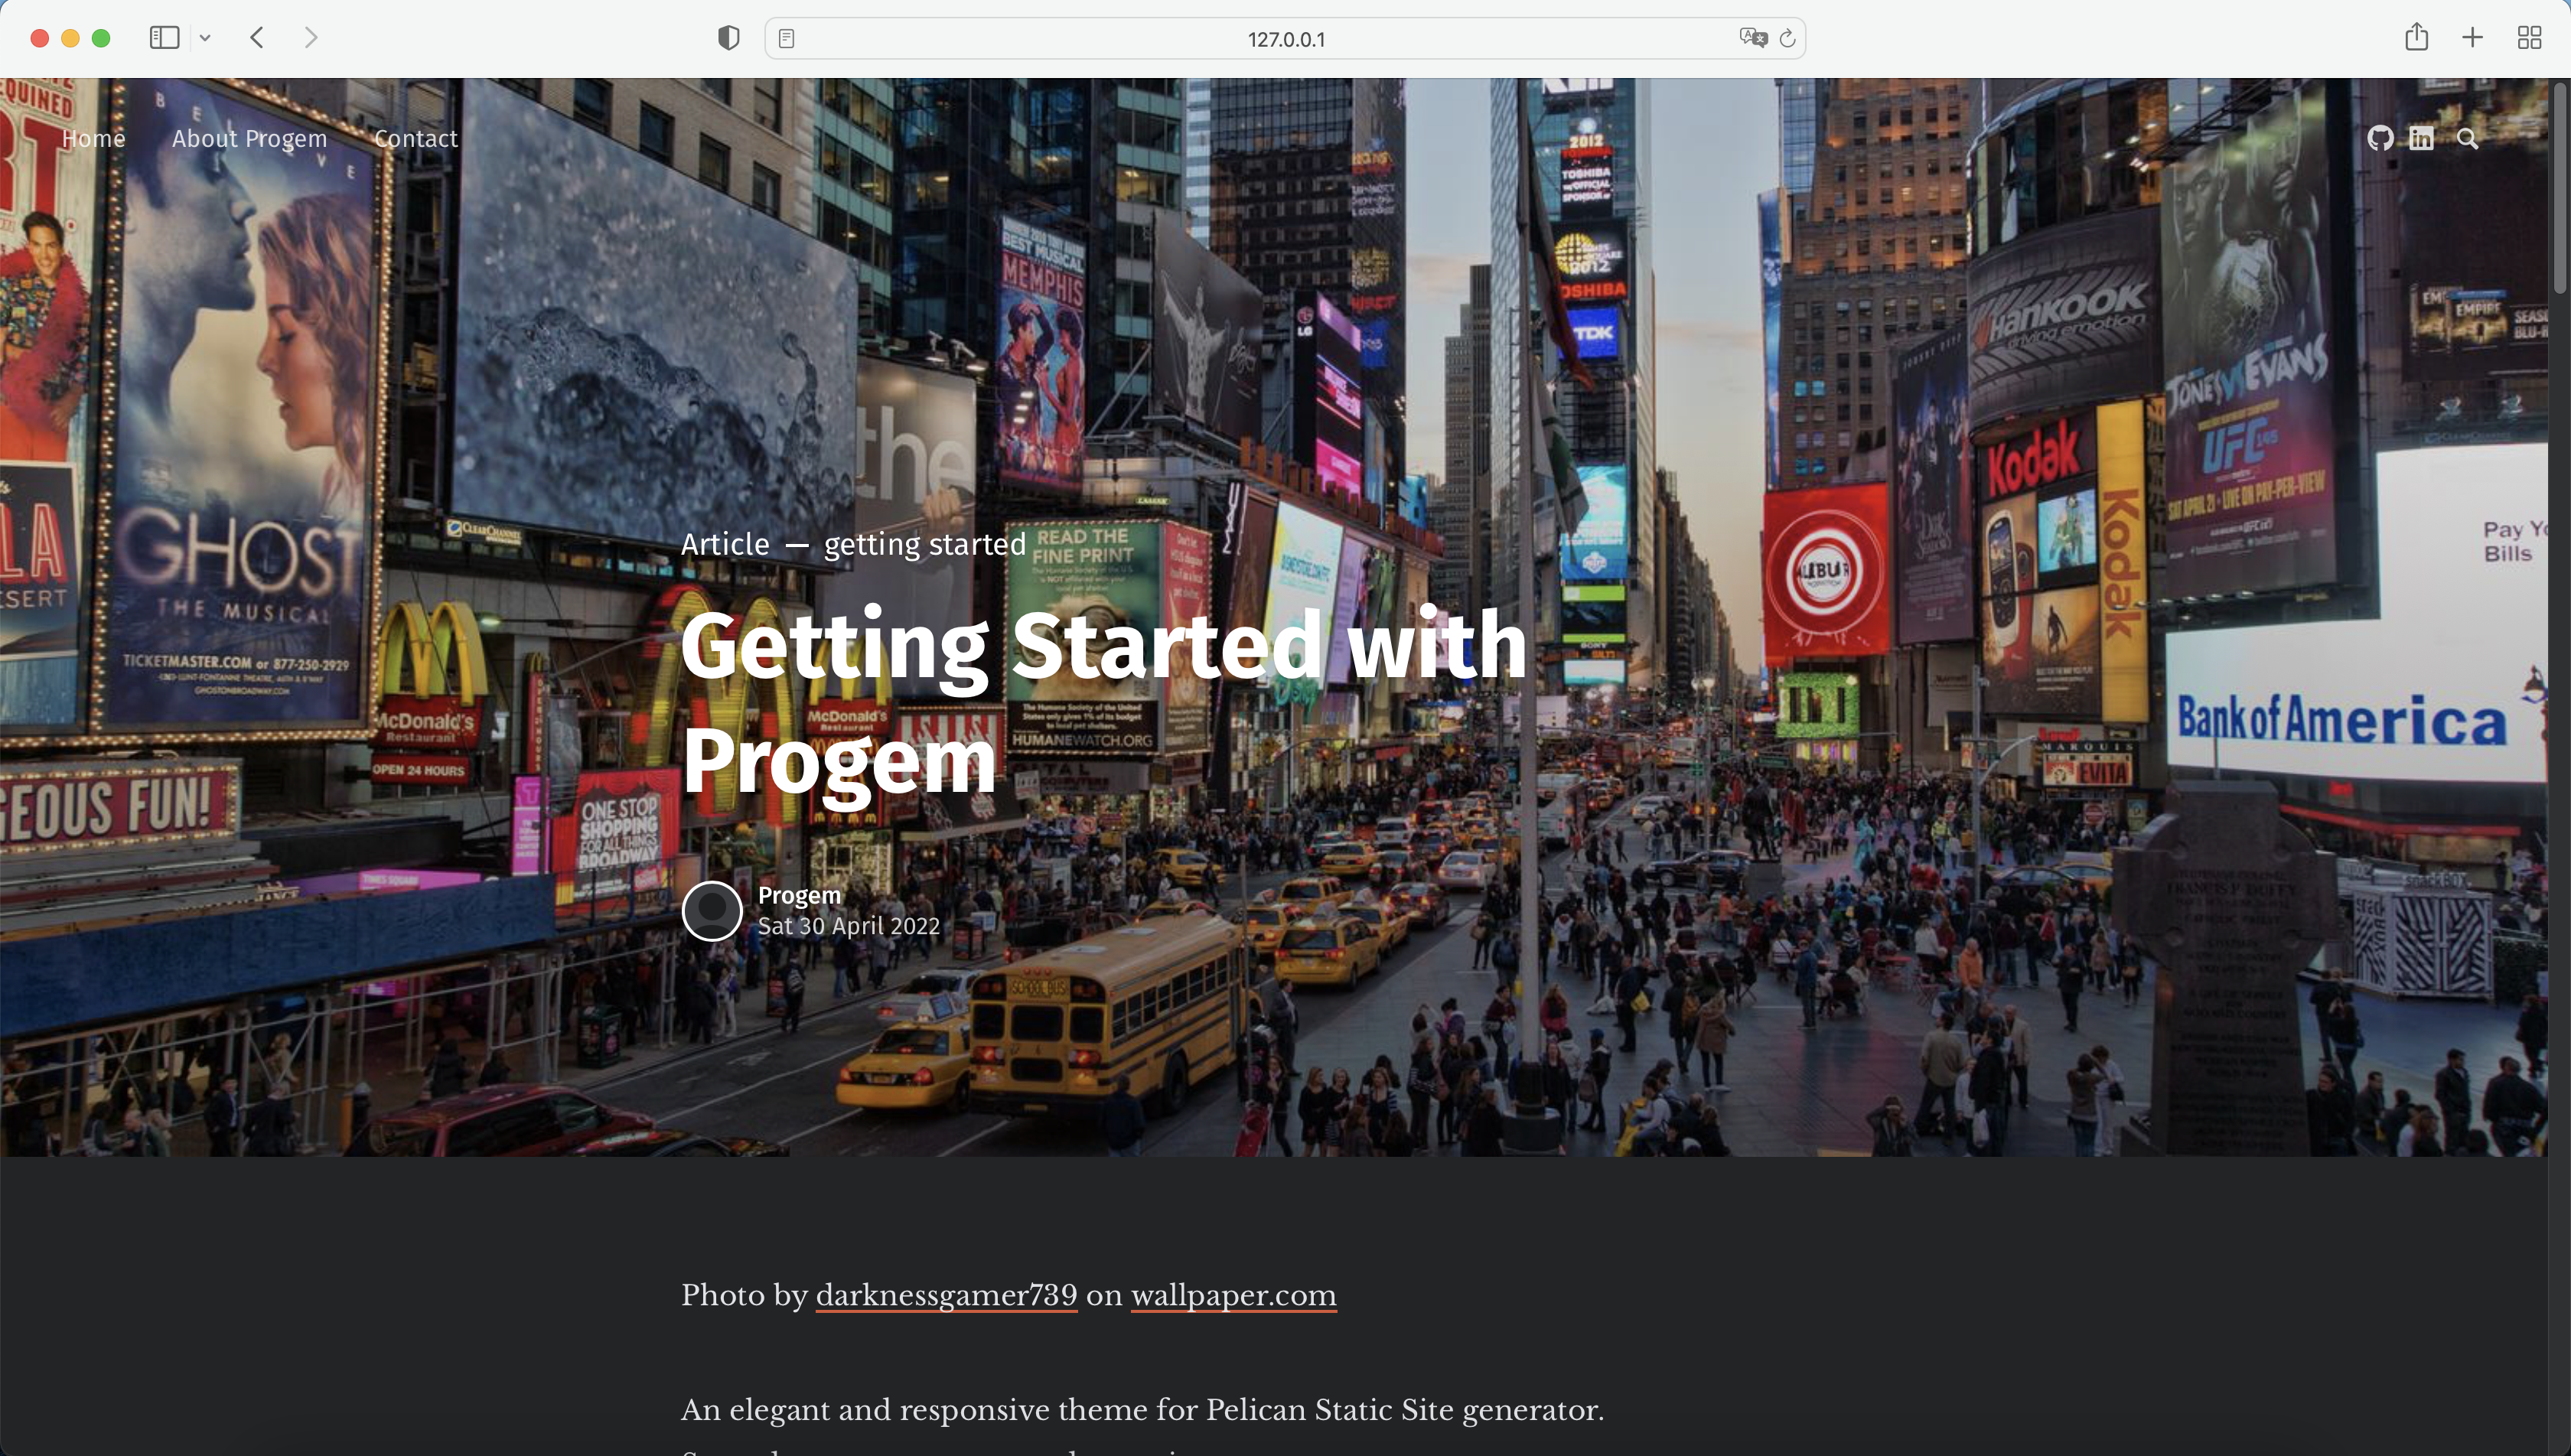
Photo by darknessgamer739 on wallpaper.com
Progem - A Pelican Theme
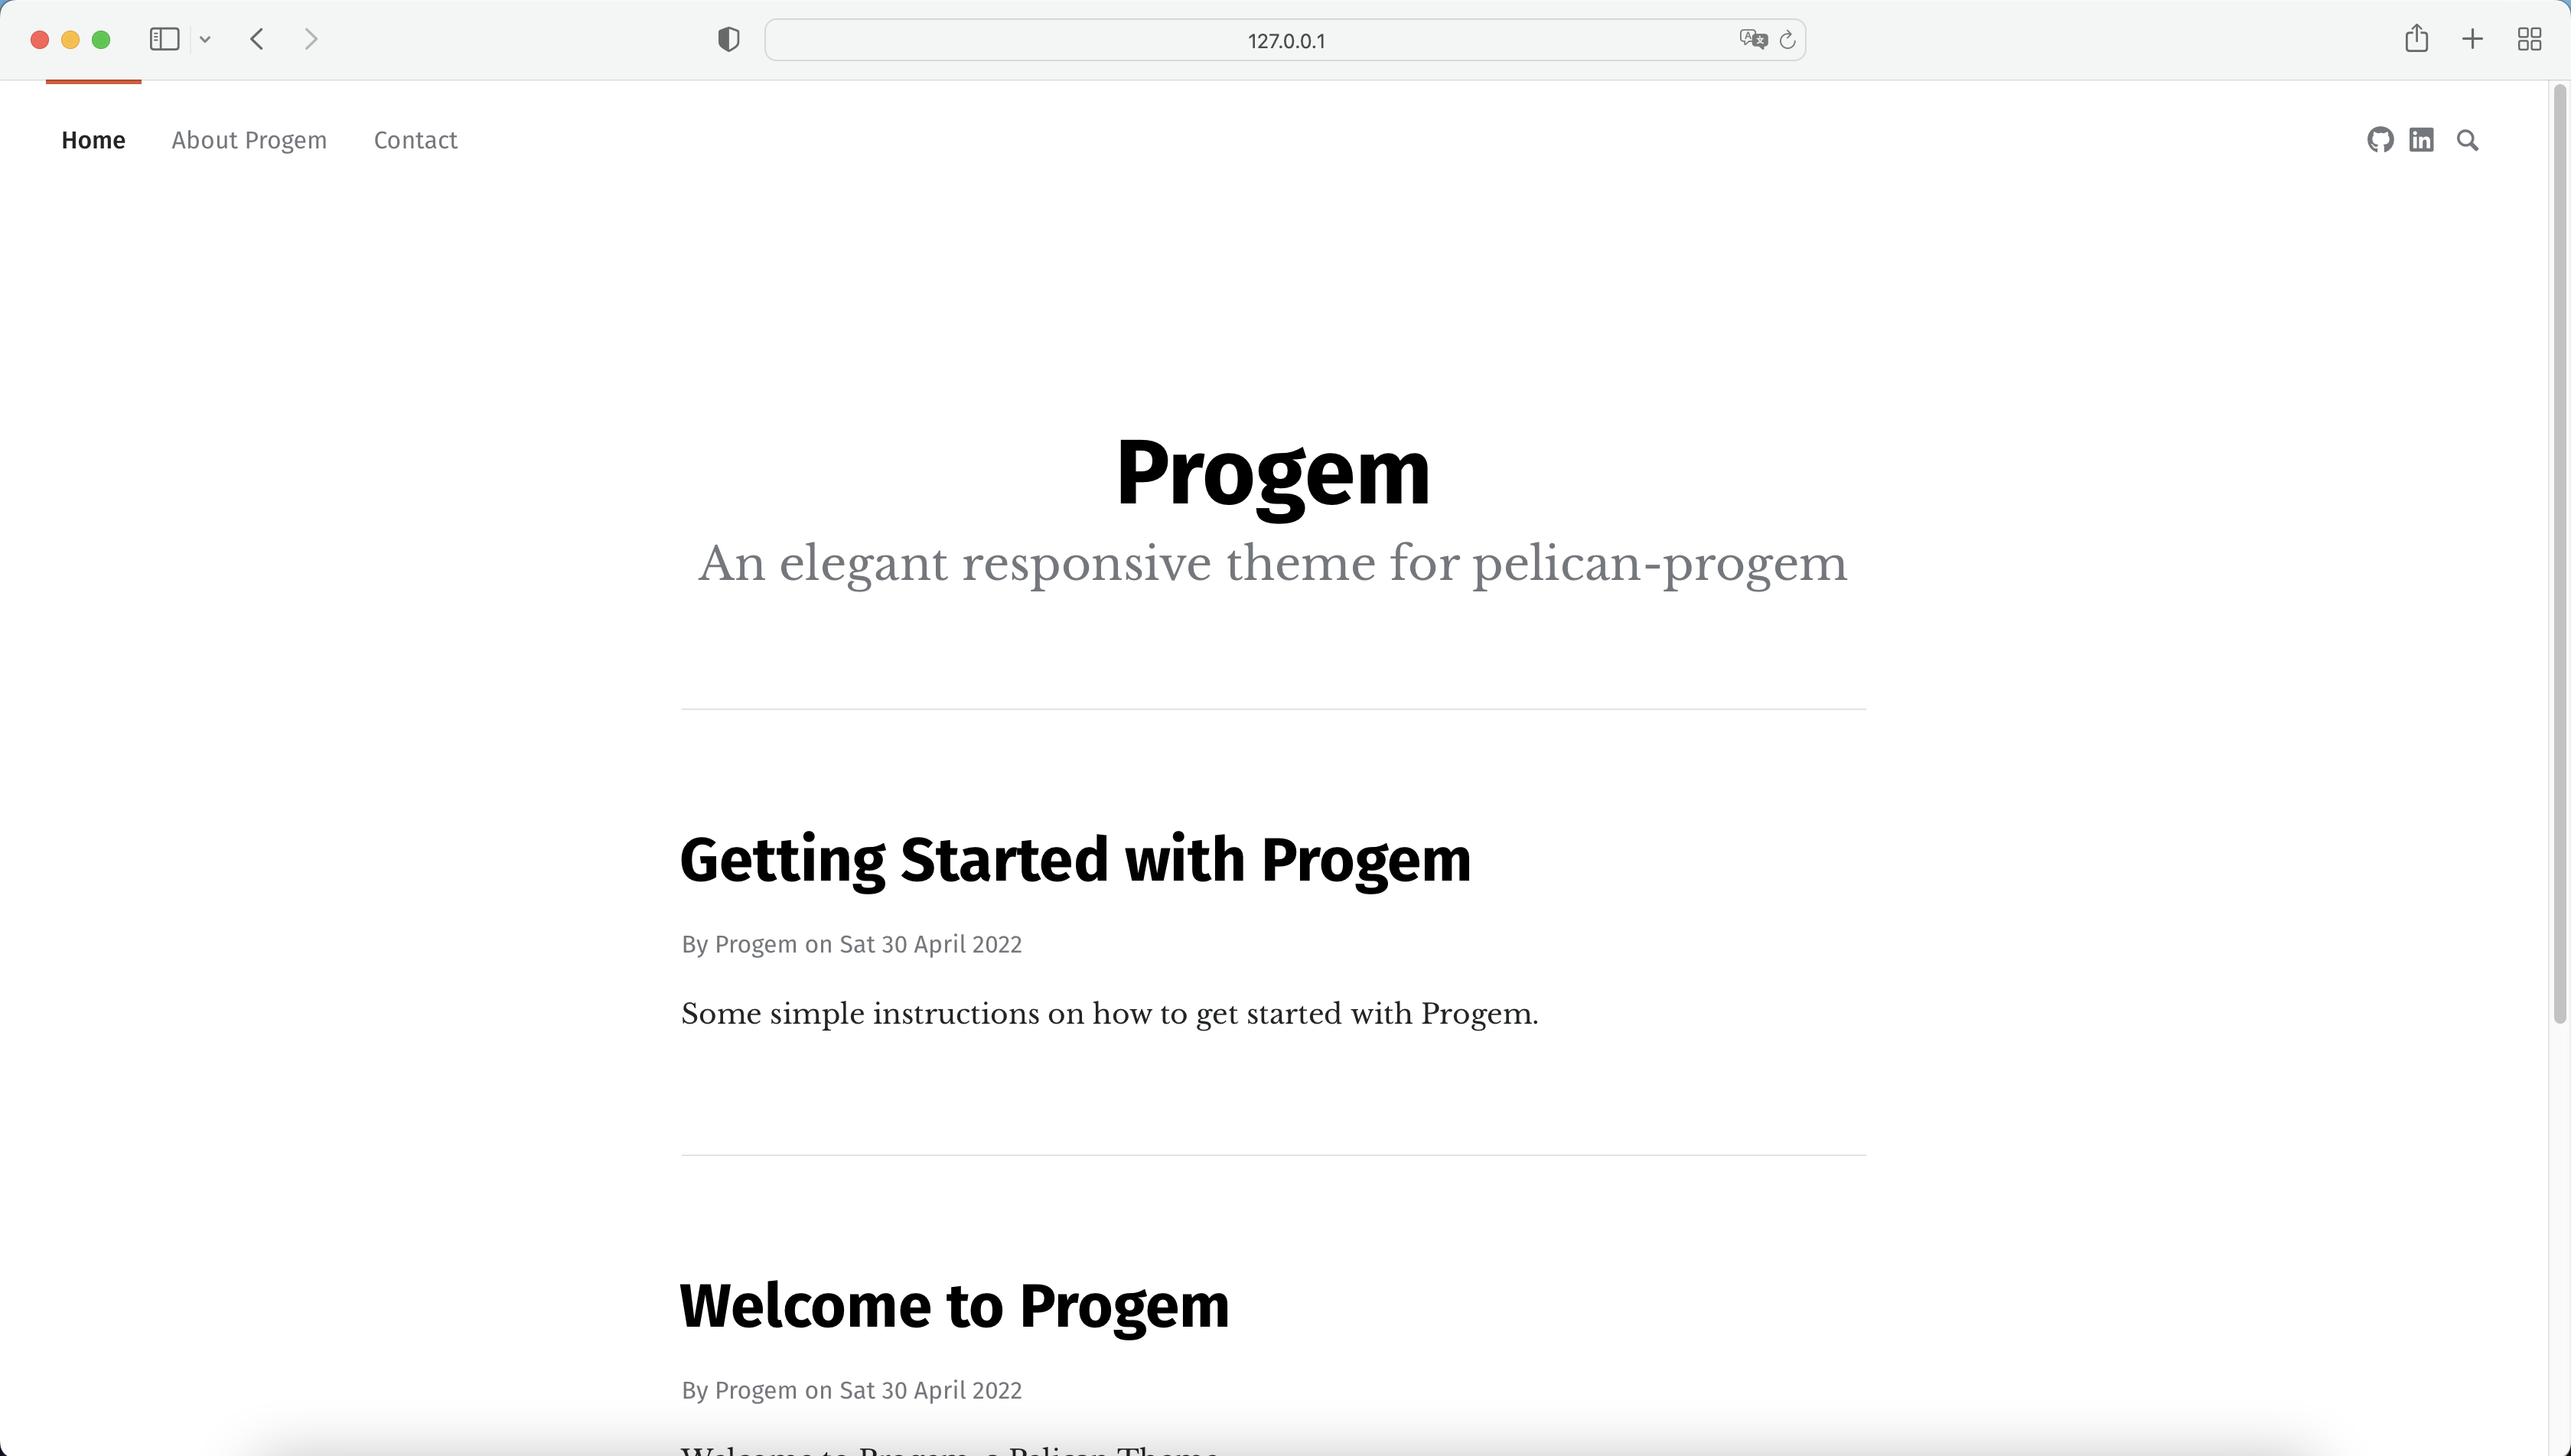
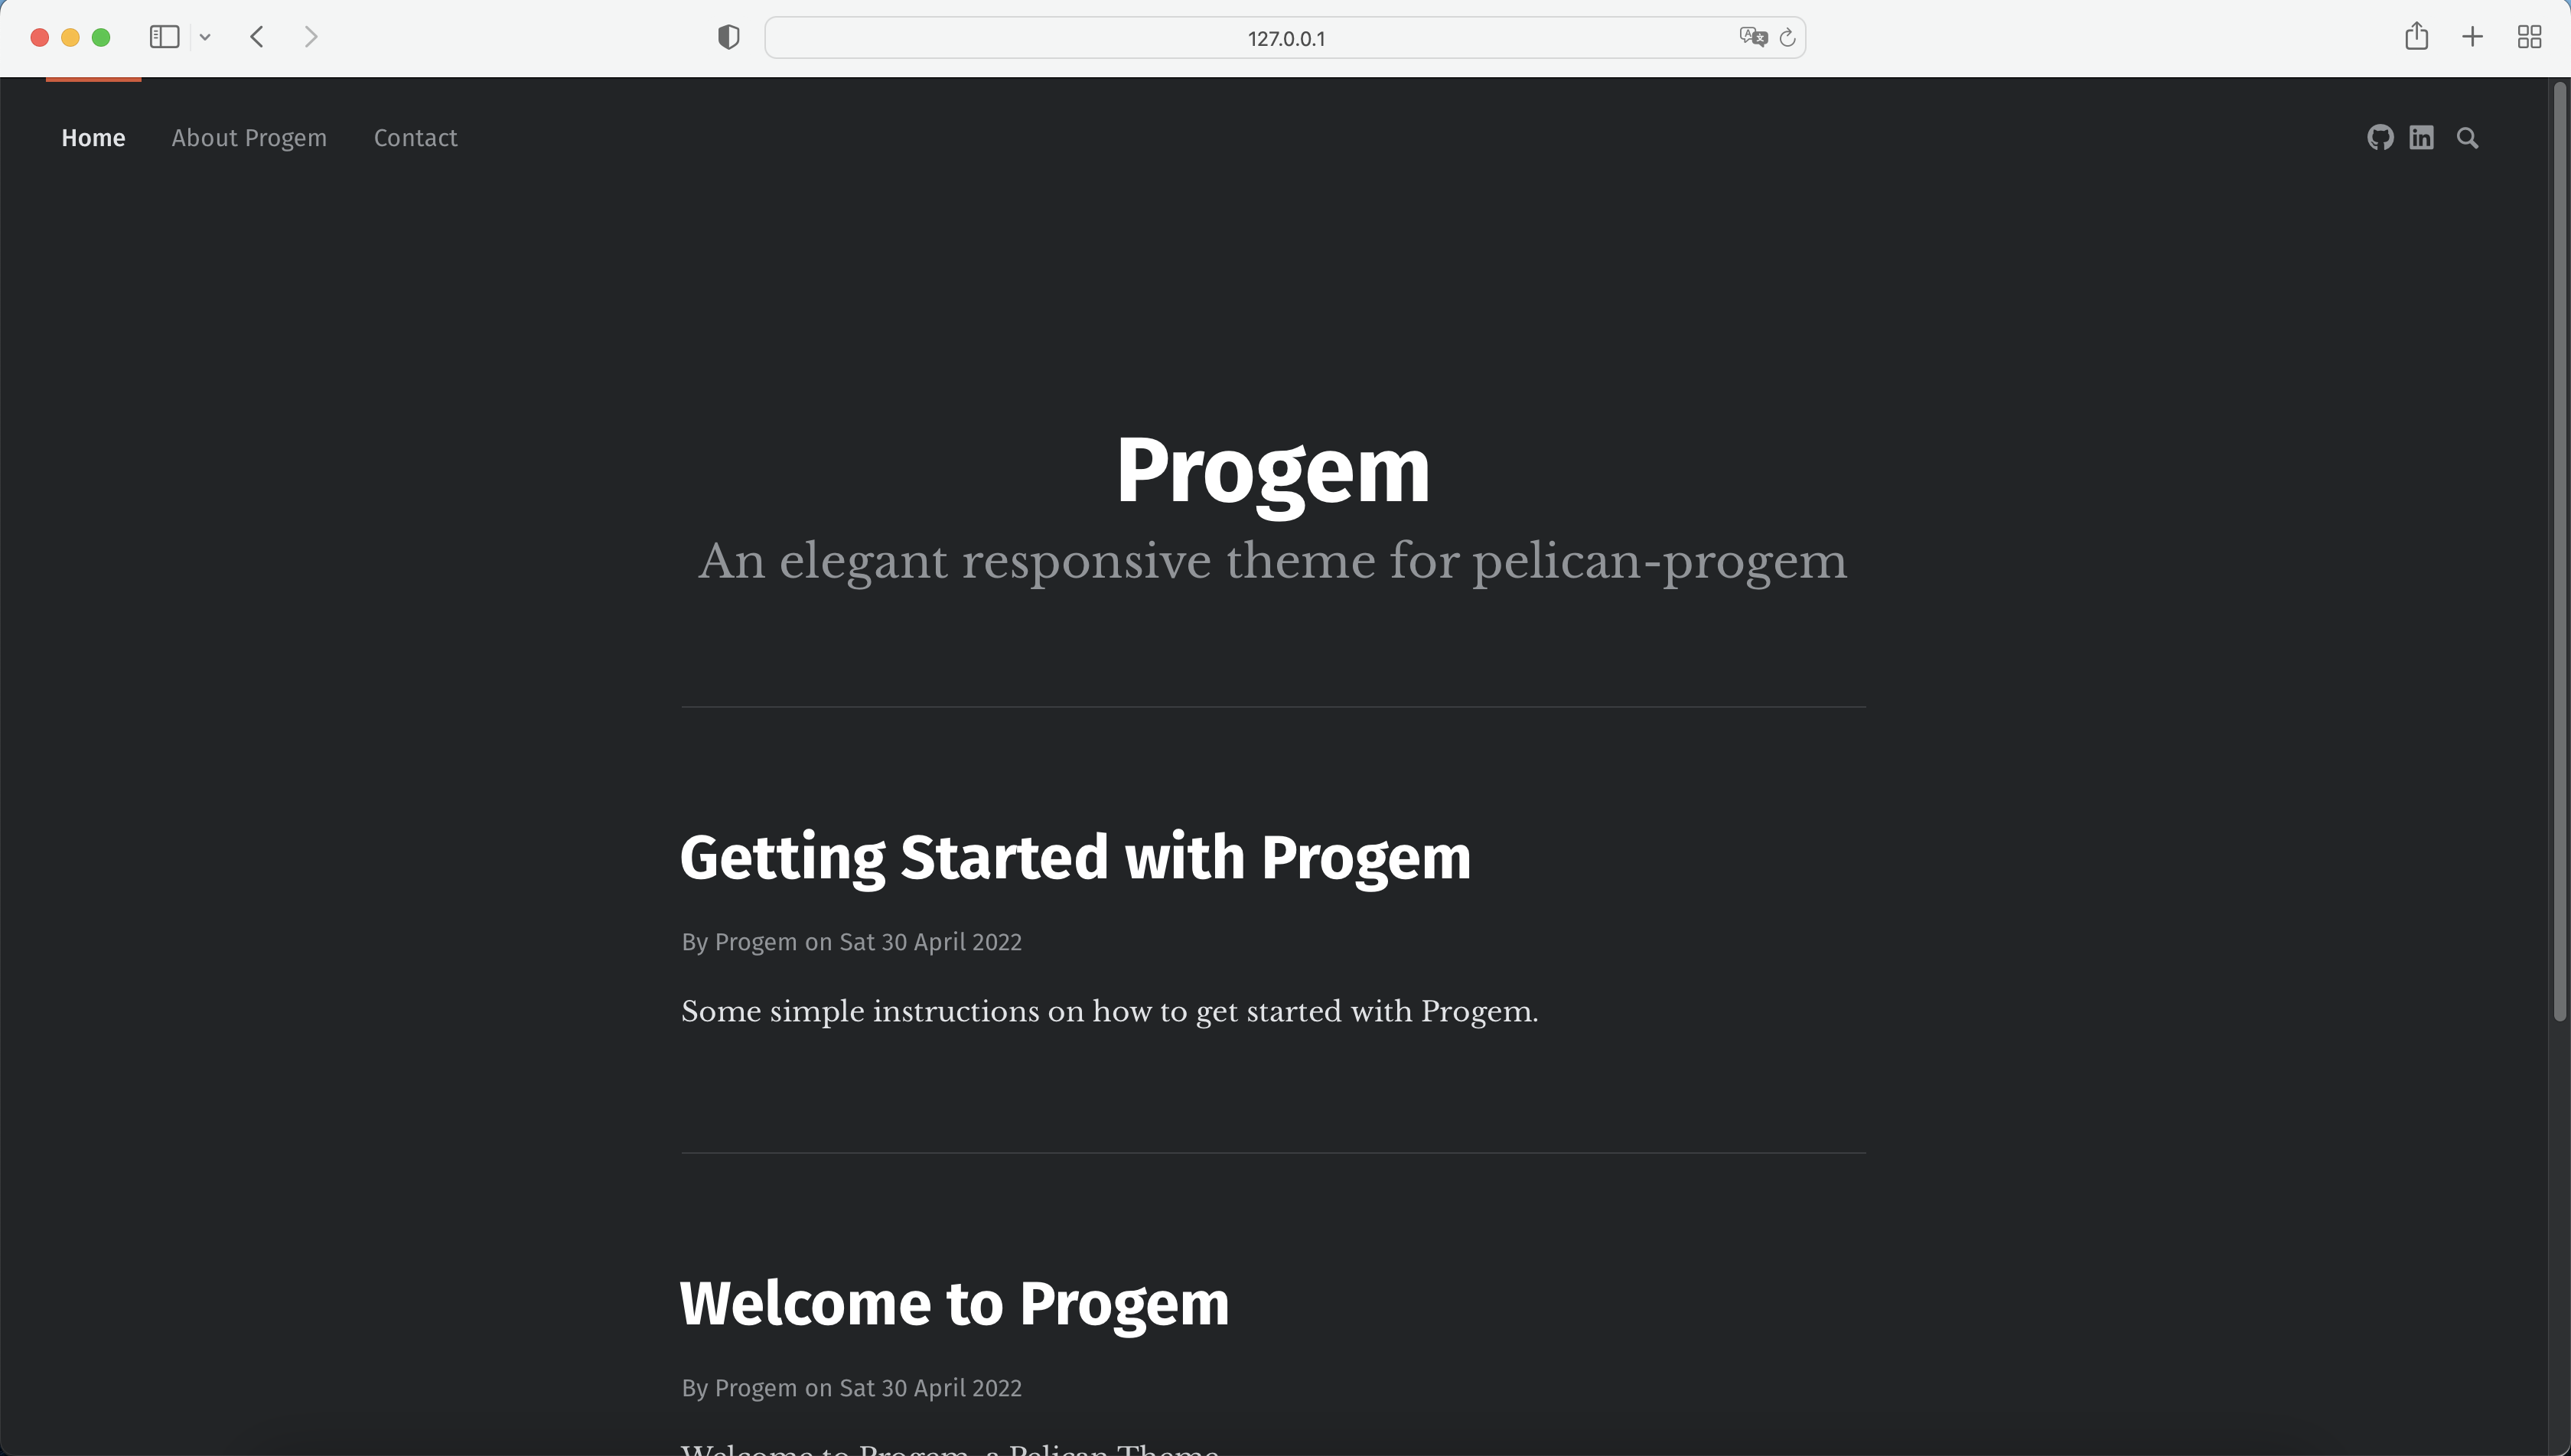
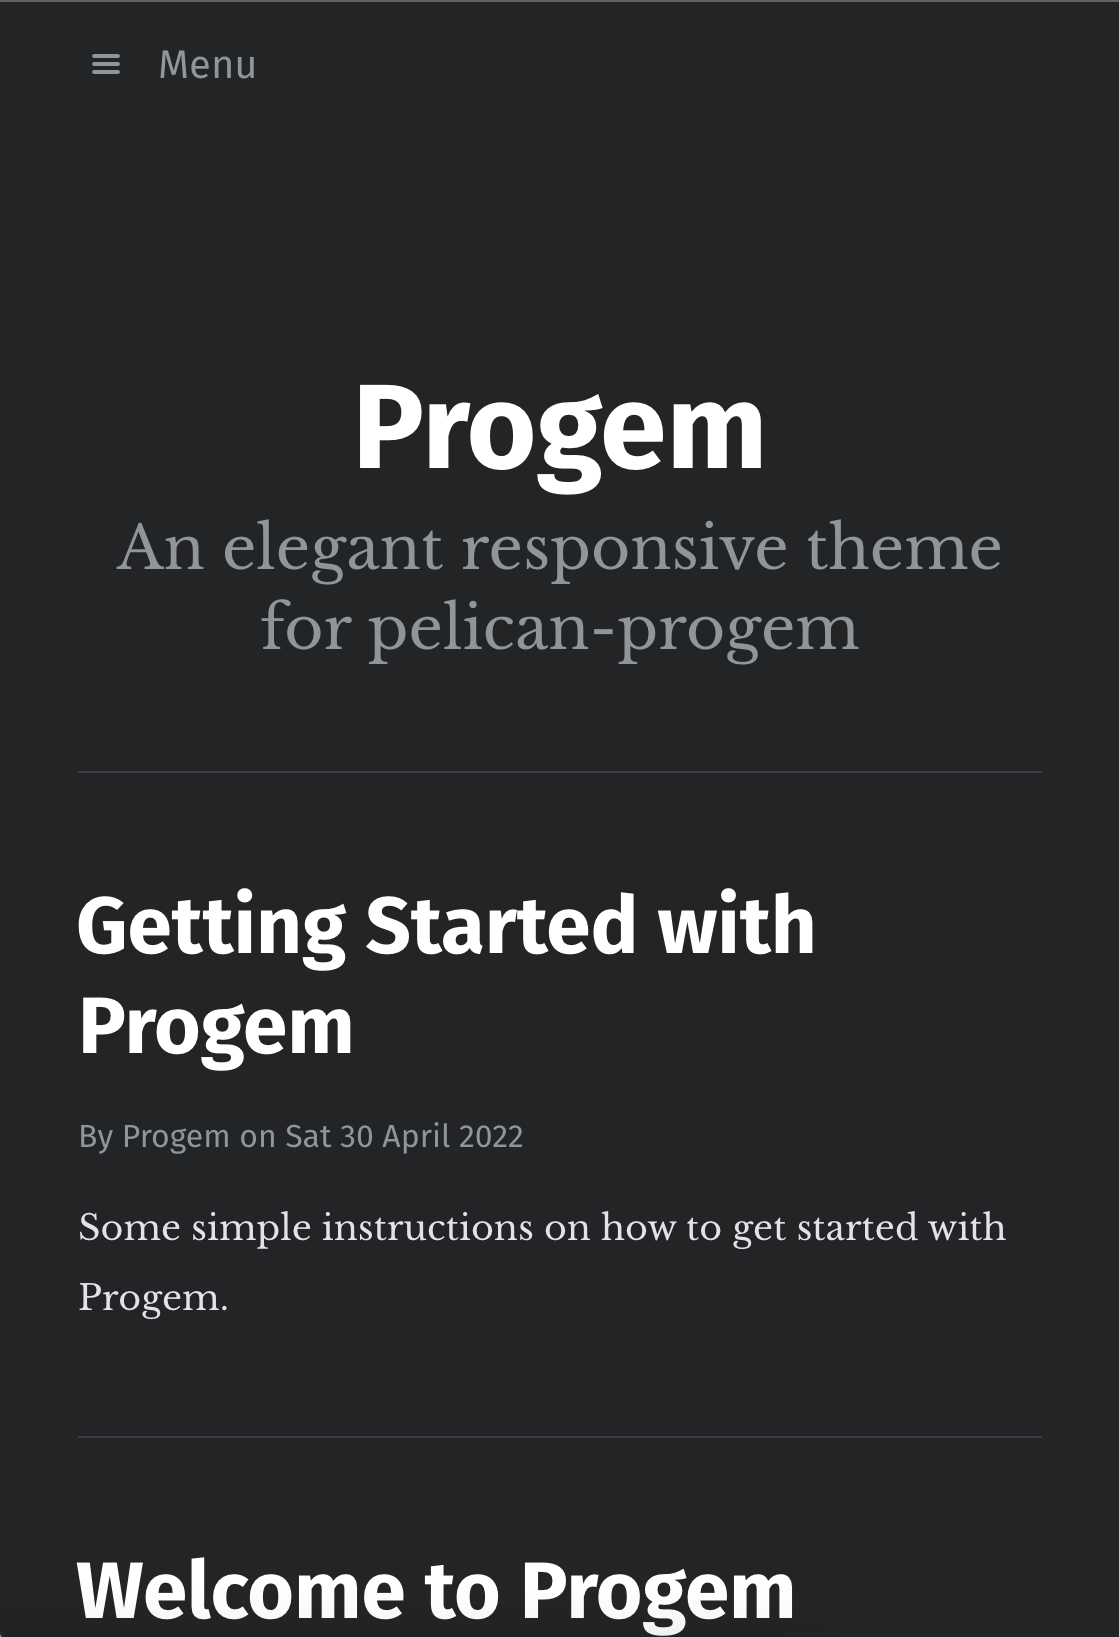
📷 Screenshot
💻 ➡️ 📱 Responsive
⭐️ Features
- Theme options
- Responsive layout
- Light and Dark Mode
- Search & Popular Tags
- Code highlight including line numbers
📥 Install Progem theme
First, choose a location to hold your themes. For this example, we'll use the directory ~/pelican-themes/progem, but yours could be different. Clone the pelican-themes repository to that location on your local machine:
git clone https://github.com/spydermaxi/pelican-progem ~/pelican-themes/progem
Now you should have Progem repository stored at ~/pelican-themes/progem.
To use one of the themes, edit your Pelican settings file (pelicanconf.py) to include this line:
THEME = "/home/user/pelican-themes/progem"
⚙️ Setup Pelican Plugins
Neighbor Articles: A Plugin for Pelican - Neighbors is a Pelican plugin that adds Next/Previous links to articles.
Installation - Simply activate your environment and install via:
python -m pip install pelican-neighbors
Usage - The theme uses the prev_article and next_article variables to create links in article page in jinja templating. No configuration required from you.
Image Process: A Plugin for Pelican - Image Process also makes it easy to create responsive images using the HTML5 srcset attribute and <picture> tag. It does this by generating multiple derivative images from one or more sources.
Installation - Simply activate your environment and install via:
python -m pip install pelican-image-process
Usage - Add the following codes into pelicanconf.py file to enable responsive srcset images
IMAGE_PROCESS = {
    "large-photo": {
        "type": "responsive-image",
        "sizes": (
            "(min-width: 1200px) 800px, "
            "(min-width: 992px) 650px, "
            "(min-width: 768px) 718px, "
            "100vw"
        ),
        "srcset": [
            ("600w", ["scale_in 600 450 True"]),
            ("800w", ["scale_in 800 600 True"]),
            ("1600w", ["scale_in 1600 1200 True"]),
        ],
        "default": "800w",
    },
}
🕹️ Setup Custom variable
Add additional variables into pelicanconf.py:
Theme
# Example directory of progem
THEME = "/home/user/pelican-themes/progem"
Site Subtitles
SITESUBTITLE = 'An elegant responsive theme for pelican-progem'
Social Widgets
# Social widget should be in tuple format ('social-name', 'social-website') #
SOCIAL = (('github', 'http://github.com/spydermaxi/pelican-progem'),
        ('facebook', 'https://facebook.com'),
        ('instagram', 'https://instagram.com'),
        ('youtube', 'https://youtube.com'))
🔠 Setup custom google fonts
Go to fonts.google.com and choose a font.
Select font style or styles
Choose Embed and copy the <link> code.
Add this to base.html header:
<link href="https://fonts.googleapis.com/css2?family=Mukta&display=swap" rel="stylesheet">
<link href="https://fonts.googleapis.com/css2?family=Crimson+Text&display=swap" rel="stylesheet">
<style>
  :root {
    --font-primary: 'Mukta', sans-serif;
    --font-secondary: 'Crimson Text', serif;
  }
</style>
✍🏼 Writing content
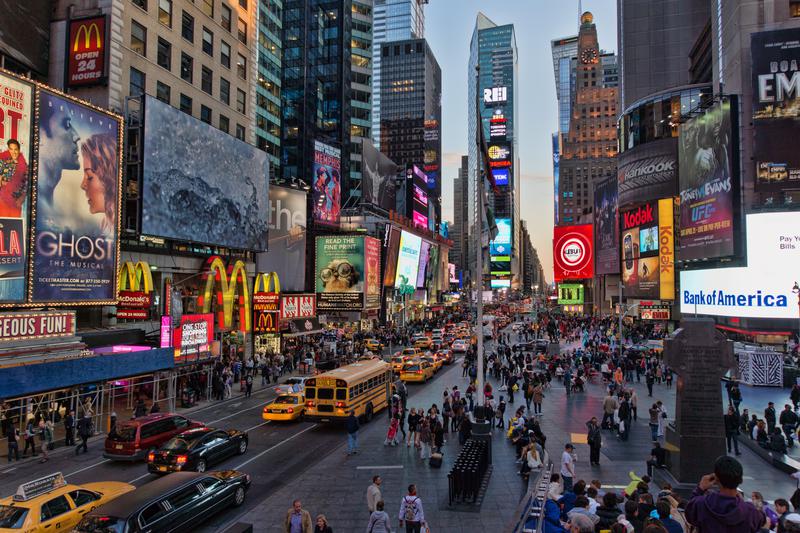
Each article allows the author to include a cover image.
To add the image simply add the Feature_Image meta data at the top of the article like so:
<!--- Example meta information in markdown -->
Feature_Image: images/light_times_square.jpg
# Example meta information in rsT
:feature_image: images/light_times_square.jpg
The images/light_time_square.jpg is where you store the original image in your content/images/ directory
Here's how it looks like in the article in .md file:
Title: Getting Started with Progem
Date: 2022-04-30 22:00
Tags: getting started, progem, how to
Slug: getting-started-with-progem
Authors: Progem
Feature_Image: images/light_times_square.jpg
Summary: Some simple instructions on how to get started with Progem.
Another example in .rst file:
Getting Started with Progem
###########################

:date: 2022-04-29 22:00
:tags: getting started, progem, how to
:slug: getting-started-with-progem-rst
:authors: Progem
:feature_image: images/light_times_square.jpg
:summary: Some simple instructions on how to get started with Progem.
🪄 Tips and Tricks
Code blocks
Although Pelican supports both rsT and Markdown formats. Code blocks display better on this Theme in rsT than in Markdown.
Example content input in Markdown
[//]: # (Markdown Code Block demo)
```
def print_progem():
    print("Pelican is a statis site generator")
    print("Progem is an elegant theme for Pelican")
```

or

[//]: # (Markdown Code Block demo)
:::python
def print_progem():
    print("Pelican is a statis site generator")
    print("Progem is an elegant theme for Pelican")
will produce the following display:
def print_progem():
print("Pelican is a statis site generator")
print("Progem is an elegant theme for Pelican")
Whereas content input in rsT
.. code-block:: python
   def print_progem():
       print("Pelican is a statis site generator")
       print("Progem is an elegant theme for Pelican")

or

::
   def print_progem():
       print("Pelican is a statis site generator")
       print("Progem is an elegant theme for Pelican")
will produce the following display:
def print_progem():
    print("Pelican is a statis site generator")
    print("Progem is an elegant theme for Pelican")
Content images
When writing contents, insert image using the following codes:
.. image:: {static}/path/to/image.png
   :alt: This is an image in content
The :alt: declaration and static path {static} are required.
Avoid double underscores
Avoid syntax with double underscores in backquotes. This will cause errors during pelican contetn production
Input this syntax __Content Underscores__, will generate the following error
ERROR    Could not process ./your_rst_file.rst
/path/to/you_rst_file.rst::
        (ERROR/3) Anonymouse hyperlink mismatch: 1
        references but 0 targets.
        see "backrefs" attribute for IDs
⚖️ Copyright & License
Copyright (C) 2022 Adrian Loo - Released under the MIT License.